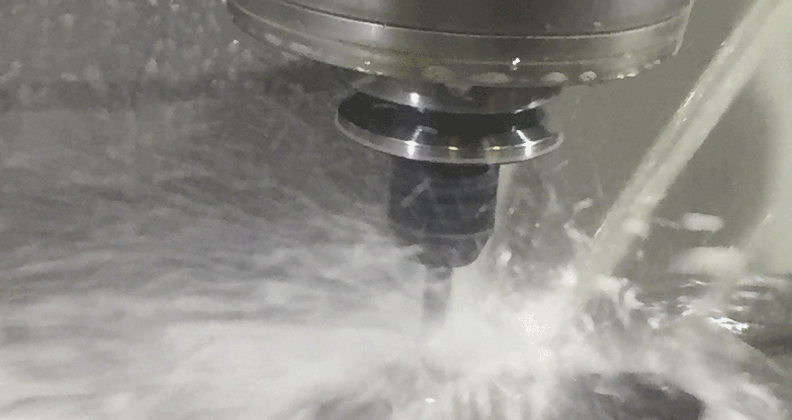
Most modern manufacturers, in all industries, now have Design for Manufacture (DFM) as part of their design processes. Efforts range from simple requests for larger tolerances, to thoughtful and thorough review of design intent by collaborative teams of design, manufacturing and quality disciplines. The DFM process is extremely important to the success of a manufacturing project and should be given a high priority. Without careful attention to the manufacturability of a part or assembly, it’s unlikely that the project will achieve optimum performance or profit results.
This article will discuss use of Geometric Dimension and Tolerance (GD&T) as a tool in the effort to create a part or assembly that meets design intent and can be manufactured at a profit. GD&T, as defined in ASME Y14.5M 2009, is the national standard, creating a concise language used on engineering documentation to provide one clear definition of mechanical parts. In other words, it is the language used by the designer to convey intent to the manufacturing engineers and technicians responsible for creating the product, and to the quality engineers and technicians tasked with verifying the compliance of the product to design criteria. When properly applied, the designer can communicate complex shapes and relationships to the manufacturing team, leaving no room for interpretation.
Proper application of GD&T maximizes tolerances without sacrificing product quality. As the tolerance increases, the cost of the product decreases. Prior to the advent of GD&T, datums as absolute locations did not exist. Parts were dimensioned as a set of distances from one feature to another, with each distance having a tolerance. The result was a “stack up” of tolerances and questions as to which feature held precedence over another. The relationship of features was open to interpretation. The proper use of datums allows the designer to establish primary features based on function, and then relate secondary features to those datums. This “functional” approach to selecting datums will usually result in the least variation in the part or assembly at the lowest cost. Tolerances on features relating to datums can be maximized. An important consideration is that datums must be designed as sufficient size. This is in accordance with the Y14.5M-2009 standard, and helps to assure reproducible inspection of parts. It is critical that the design be manufacturable and measureable. If you cannot measure the feature, you cannot assure compliance.
Defining the size and location of a radius is a frequent problem. Without directly opposed points (180+ degrees of arc), you cannot reproducibly find the center of a radius. When toleranced directly, the person measuring the finished part must determine where the center is out in space in order to decide if the dimension is in tolerance. If the part is measured on a CMM (co-ordinate measuring machine) or other system that locates measured data points on the surface and calculates the radius and location, a different set of issues arises. These systems typically rely on software to calculate the radius size and location, most often by using the sum of least squares algorithm. Even a slight variation in the location of a measured point, often within the measurement uncertainty of the system, will result in a large difference in the size and location of the radius.
A method to dimension radii, especially when there is less than 180 degrees of arc, is to define the surface as a profile. This creates unilateral or equilateral parallel boundaries that define the location and size of the radius. With this method, it is possible to establish compliance without relying on the sum of least squares by using conventional measuring techniques such as surface plates, fixtures and indicators. When designing a feature that becomes a collection of arcs, lines, surfaces, etc., use profile tolerance as opposed to individual entities, which must each be verified.
When creating or reviewing a design, here are some pitfalls and red flags to consider. A fairly common one is features being unnecessarily constrained to datums. Often a feature will be constrained to datums A-B-C, when the relationship of the feature to a particular datum or datums has no impact on the function of the part. This arbitrary constraint serves to tighten the tolerance and increase the difficulty of manufacture, which raises the cost of the part. In short, datum reference frames should reflect the function of the feature.
Features of size, whose positions are defined as Regardless of Feature Size (RFS), also often unnecessarily constrict the design and increase the difficulty and cost of manufacture, without improving the functionality of the part. These may be holes, pins, slots or other features of size which may or may not be datum features. All these features will have a size tolerance. If dimensioned properly, most often the manufacturing process may be allowed to take advantage of the size above or below the maximum or minimum material condition, without adversely affection part function or quality. MMC and LMC, (maximum and minimum material conditions), offer a very good opportunity to improve manufacturability and reduce cost.
So, you have discussed these opportunities with your design team, and they have taken advantage of the GD&T potential to design a manufacturable part, while maintaining design intent and optimum quality. You have completed a major step toward improving the manufacturability of your product and increasing your profit, and maintained the quality of the product at the same time. Win/win/win, right?
Now your manufacturing team produces parts to the new improved design and delivers them to the quality department for verification. Here is where things often go off track.
Quality inspects the part on a CMM, the preferred method in most modern facilities these days, and rejects the part for being out of tolerance. Manufacturing is quite sure that the part is good and rechecks the part on a surface plate using conventional methods such as height gage, indicators, etc. The part appears to be in tolerance. Confronted with the evidence, the quality department recalibrates the CMM. In the meantime, manufacturing reviews their machine tool program, fixturing, tooling, etc. After calibration of the CMM is complete, quality re-measures the part, and it still checks out of tolerance, but the evidence of the height gage and indicator indicates the part is good. And on and on it goes. This scenario is played out countless times in factories everywhere, maybe even yours. The result is time lost in second guessing, recalibrating, adjusting processes and often the creation of an adversarial relationship between manufacturing and quality. What’s going on here?
There is an answer. The software used by your CMM is not calculating the measured data points in a manner that takes full advantage of the dimensioning of your design per Y14.5M-2009. Often it may be as simple as the reliance of the CMM software on the sum of least squares as the “best fit.” It is impossible for the sum of least squares to define a surface and, in essence, create the hard gage measurement of the part. However, the hard gage version is exactly what your manufacturing machine creates, and Y14.5M 2009 defines. This shortcome can manifest itself in features being shown as the wrong size, wrong position and wrong shape and lead you down a path of unnecessary rejections and adjustments to your process. More complex relationships are also difficult for many of the CMM software applications. Relationships in which the datums are features of size and the position of a feature is to those datums at MMC or LMC are often miscalculated, with the result being an arbitrary reduction in tolerance.
Was utilizing GD&T to improve manufacturability a bad move? How do you take advantage of your improved design if the CMM rejects your best efforts?
GD&T software may assist by fitting the data points taken by your CMM to the CAD model in a manner that is fully compliant to Y14.5M 2009. In doing so, you are able to take advantage of the opportunities provided by the GD&T standard as discussed above, along with many other GD&T callouts that are often problematic for CMM software.
The results can be significant. One major orthopedic implant manufacturer realized an increase in yield of approximately 20% when GD&T software was applied to their CMM data. The part in question was the femoral component of a knee replacement assembly, a very expensive and complex part to produce. Beyond the obvious benefit of scrap reduction, there was a reduction in CMM recalibration time, machine tool program evaluation, meetings to discover the cause of the scrap parts, and so forth. With the new ability to truly assess measurements per Y14.5M 2009 due to GD&T software, the design team took further advantage of these principles to reduce cost of manufacture even more.
To summarize, take advantage of the design for manufacturability opportunities provided by a very good national standard, Y14.5M2009. When the designs reach the manufacturing floor, make sure that your measuring systems are also capable of taking advantage of the same opportunities.
Joe Soistman is the founder of Quality Manufacturing Solutions, LLC. He has also served in a quality engineering role with an orthopaedic implant manufacturer, where he focused upon process improvement with an emphasis on metrology techniques. His successful projects include design for manufacturability improvements, manufacturing improvements and metrology process improvements with an emphasis on GD&T implementation as a measuring standard. Please review his presentations on software solutions and reach Joe at joe@qualitymanufacturingsolutions.com.
Quality Manufacturing Solutions, LLC
www.qualitymanufacturingsolutions.com


